While the laundry room stairs are drying after sanding round 3, figured I would post an update on another project that is in the finishing stages…the Hot Tub Time Machine (HTTM) Again I’m kicking myself that I don’t have a real good photo on my phone of the HTTM before I started tearing it apart…but to give you some background — the room had a very bland and boring mirror on the wall with a terribly boring light mounted above it.
After some time on Pinterest, I had formulated a plan. I was gonna use fallen branches from the backyard and make the most spectacular wood slice mirror ever. And bonus, I was gonna get to put the band-saw into some major use.
A quick trip to Home Depot and we had what we needed. First we measured the space where the mirror used to live and added three inches all around and then cut the board to the specific measurements. Then using some serious mirror adhesive, we glued the mirror in the center and added the three inch pieces all around to make the mirror relatively level with the framing. Is it a perfect job? No…but I don’t care, cause we did this ourselves.
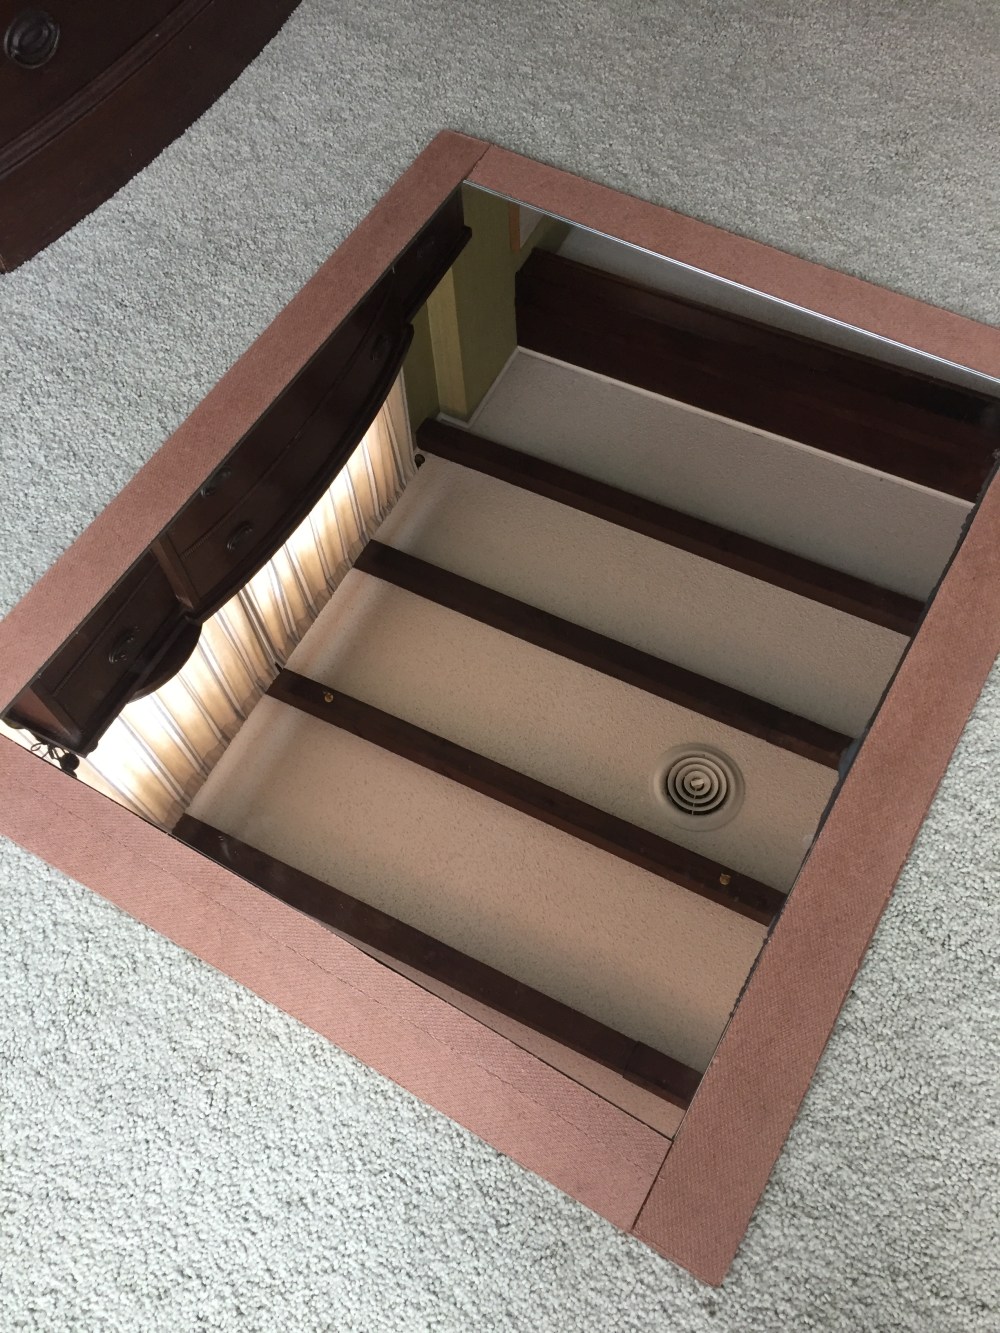
Once the glue had the time it needed to cure, it was time to paint the frame. I didn’t want any of the frame showing thru the wood pieces, so I painted the framing black. Just a basic black matte paint that I had in my ever-growing inventory of paints and stains and a trusty foam paint brush. Please…pay no attention to the gross popcorn ceiling in the mirror.
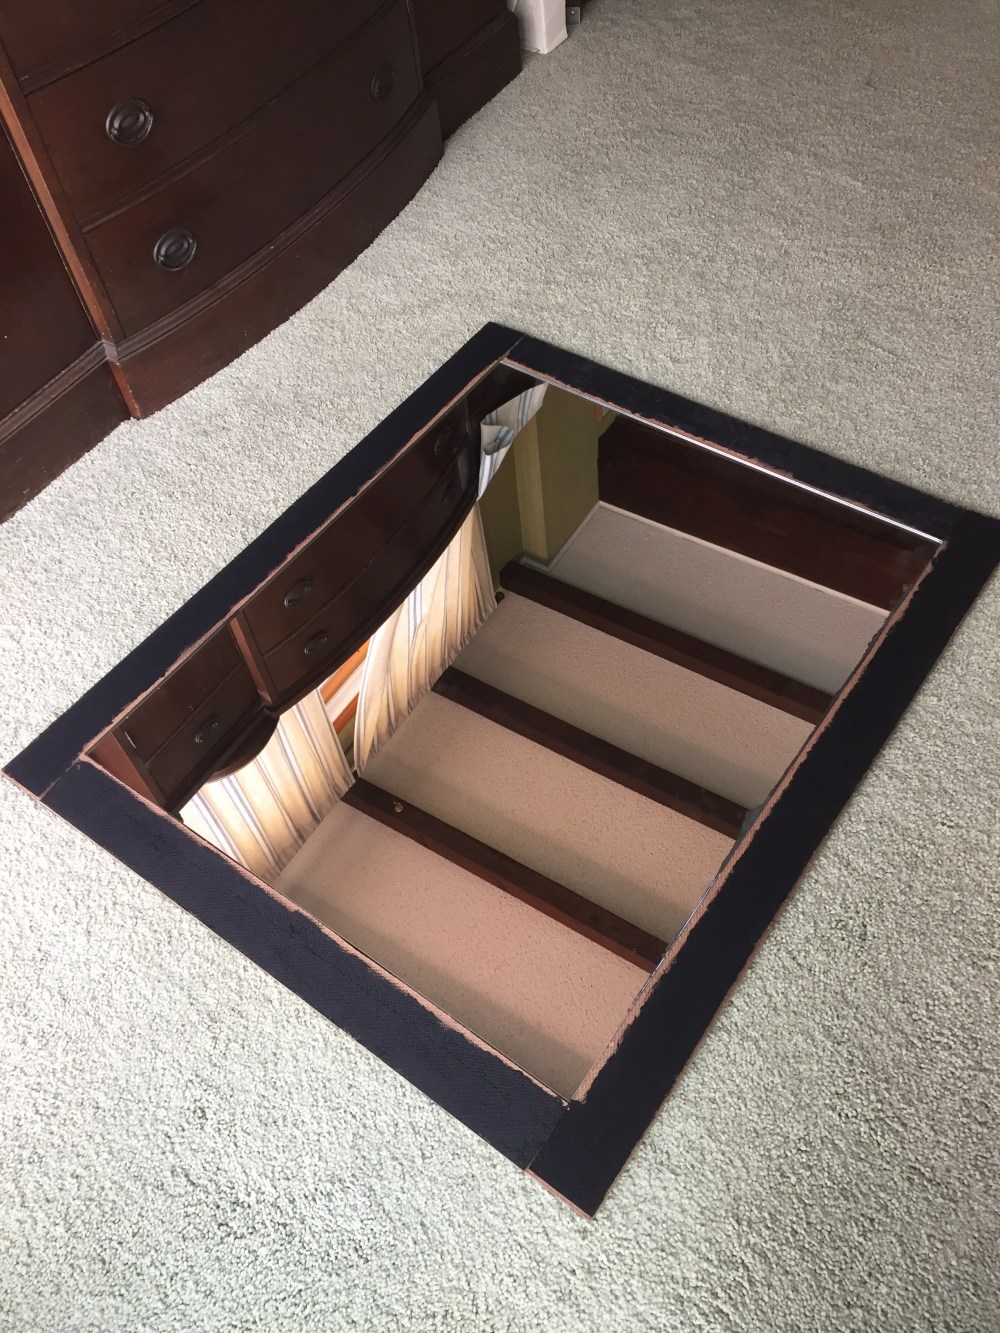
Before I started doing anything permanent to the frame, I painted to the very edge of the frame for the mirror. That odd looking edge wasn’t there for too long. Just required more attention and concentration when I was painting than I was willing to give it the first time around. I am lazy when it comes to taping…so…there’s that.
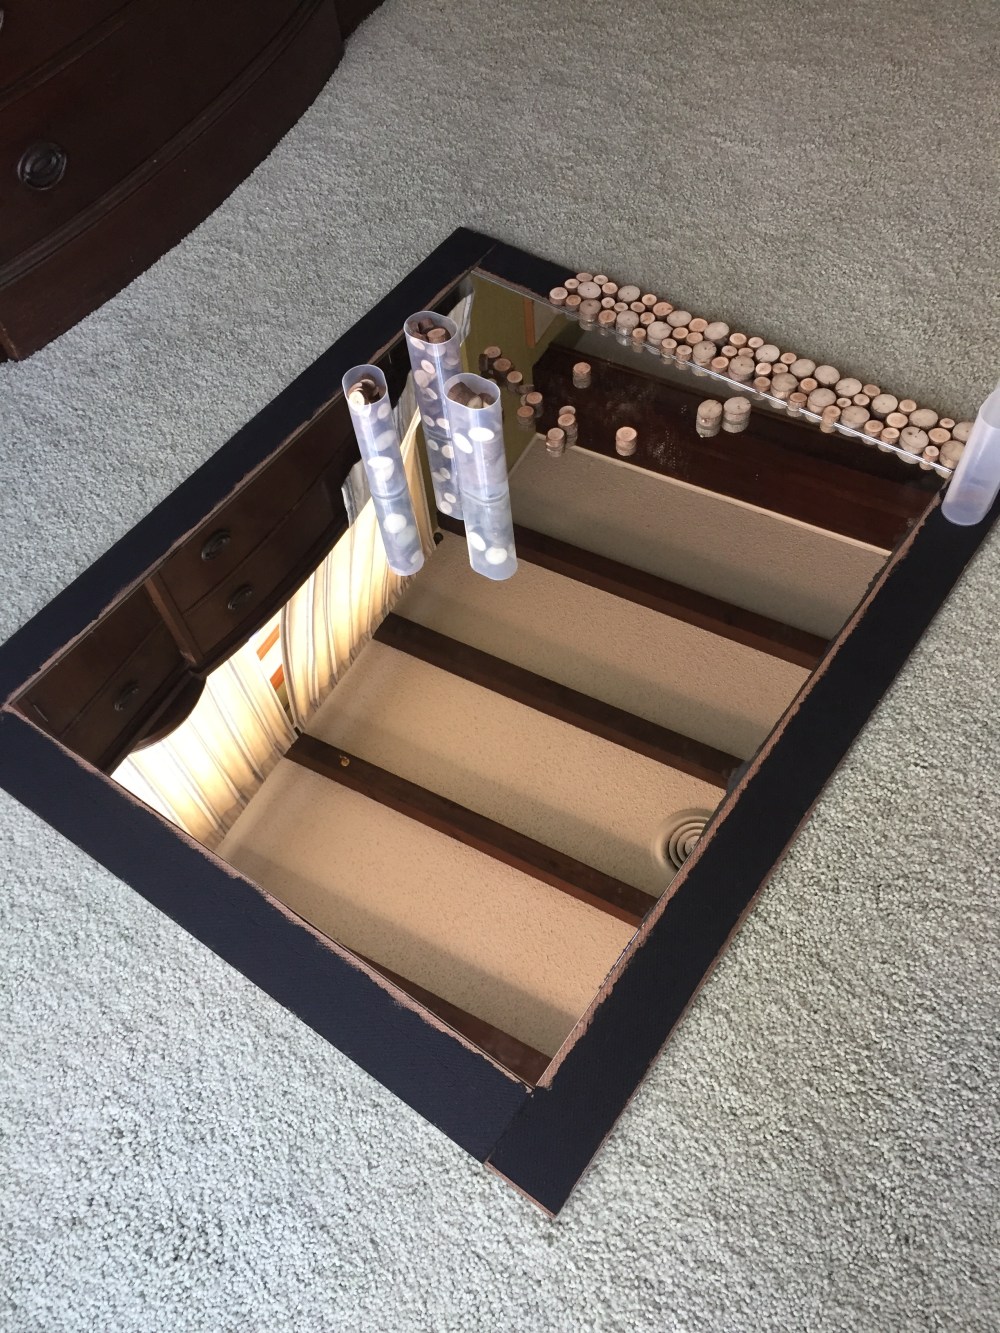
But I did start laying out wood pieces to get an idea of what my brain was picturing. See those little plastic tube things? Those are Crystal Light containers…I had about 12 of those filled with different sizes of wood slices.
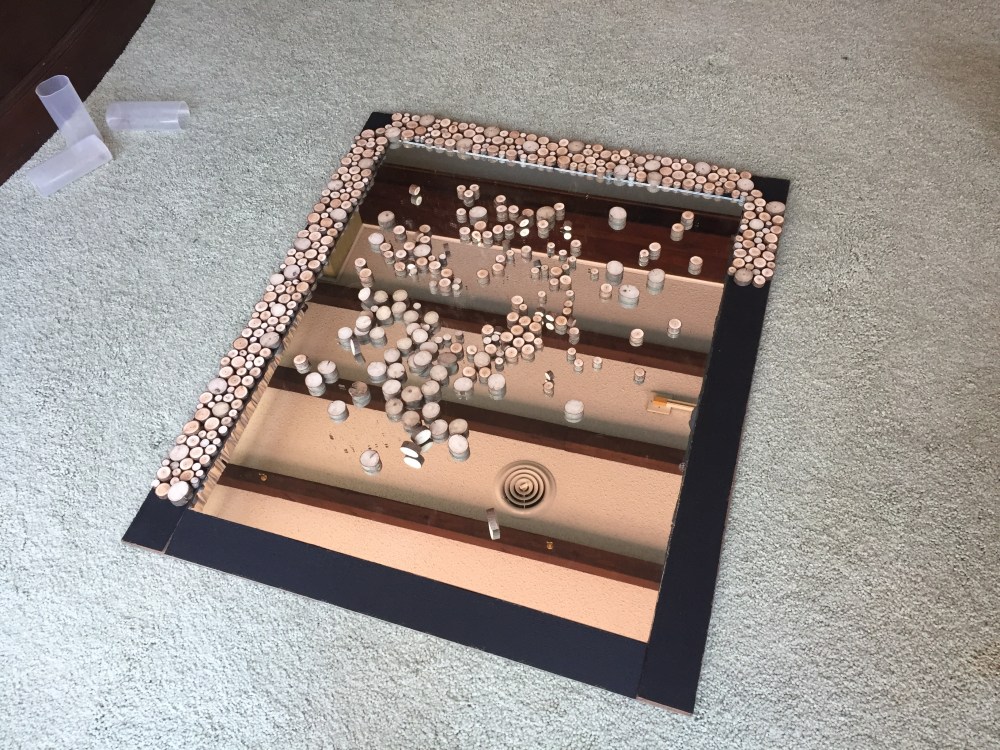
After touching up the edge on the mirror, I started laying out all the wood pieces. Figured I would rather lay them all out and THEN start gluing, just in case. Over the next few days I spent a few hours each day hunched over the mirror on the floor putting down my template pieces. I ended up spreading all the slices I had, well — most of them — directly onto the mirror which ended up working out great. That brown paper in the background is Dr. Spaceman’s paper playground.

In between all the work on the frame, multiple trips to the workroom were made to make different size slices or to increase the number of slices I had in one size. A few trips were made outside to the backyard to grab newly fallen branches, or use some pieces we have stored for kindling and/or outdoor fires (the latter of which, by the way, we haven’t had yet)
Once everything was laid out (exception: corners that will be used to screw the mirror into the wall with some serious wall anchors that the BH got) I spent an entire day gluing each individual piece of wood. It wasn’t as simple as I had been hoping, I wasn’t able to lift each piece…put glue on it…and then put it back down. Once one was moved, the whole section around it moved.
I basically was starting over with the placement of the slices, but it worked out in my favor in the end. Doing it piece by piece gave me the opportunity to make the slices fit nice and snug together, but this also was slightly troublesome — on at least three occasions the sleeve of my sweater (it was cold and rainy the day I was gluing) knocked the unglued pieces off the frame. The word ‘shit’ and my other favorite curse word was muttered often.

Once everything was glued and have at least 24 hours to cure (and I could stand up without my back killing me), it was time to mount the behemoth and monster of a mirror. It was SO HEAVY. And it’s not the wood slices, it’s the actual mirror and the board the mirror is glued on that is hefty. We got it all screwed in, and then to add some extra holding power (because the top screws weren’t as strongly in place as we would have liked) we used some liquid nails at the top.

Now that it was up on the wall — it was time to put the pieces in the corners and start some of the crazy detail work. Thank the LORD the BH was more than willing to make all the teeny-tiny super small slices needed to fill in some of the gaps. I spent almost an entire Sunday with some needle-nose pliers, wood glue, and some of the smallest slices of wood I’ve ever seen. Seriously shout out to the BH, without hesitation he would make me new slices that kept getting small and smaller.
And to boot, I was able to fix up that hole where the medicine cabinet used to live. I didn’t do a great job, but it’s good enough that I could paint it to match the rest of the room. That little wall space above the outlet is going be where the new string art piece that I’m making is going to live. It’s gonna look great.

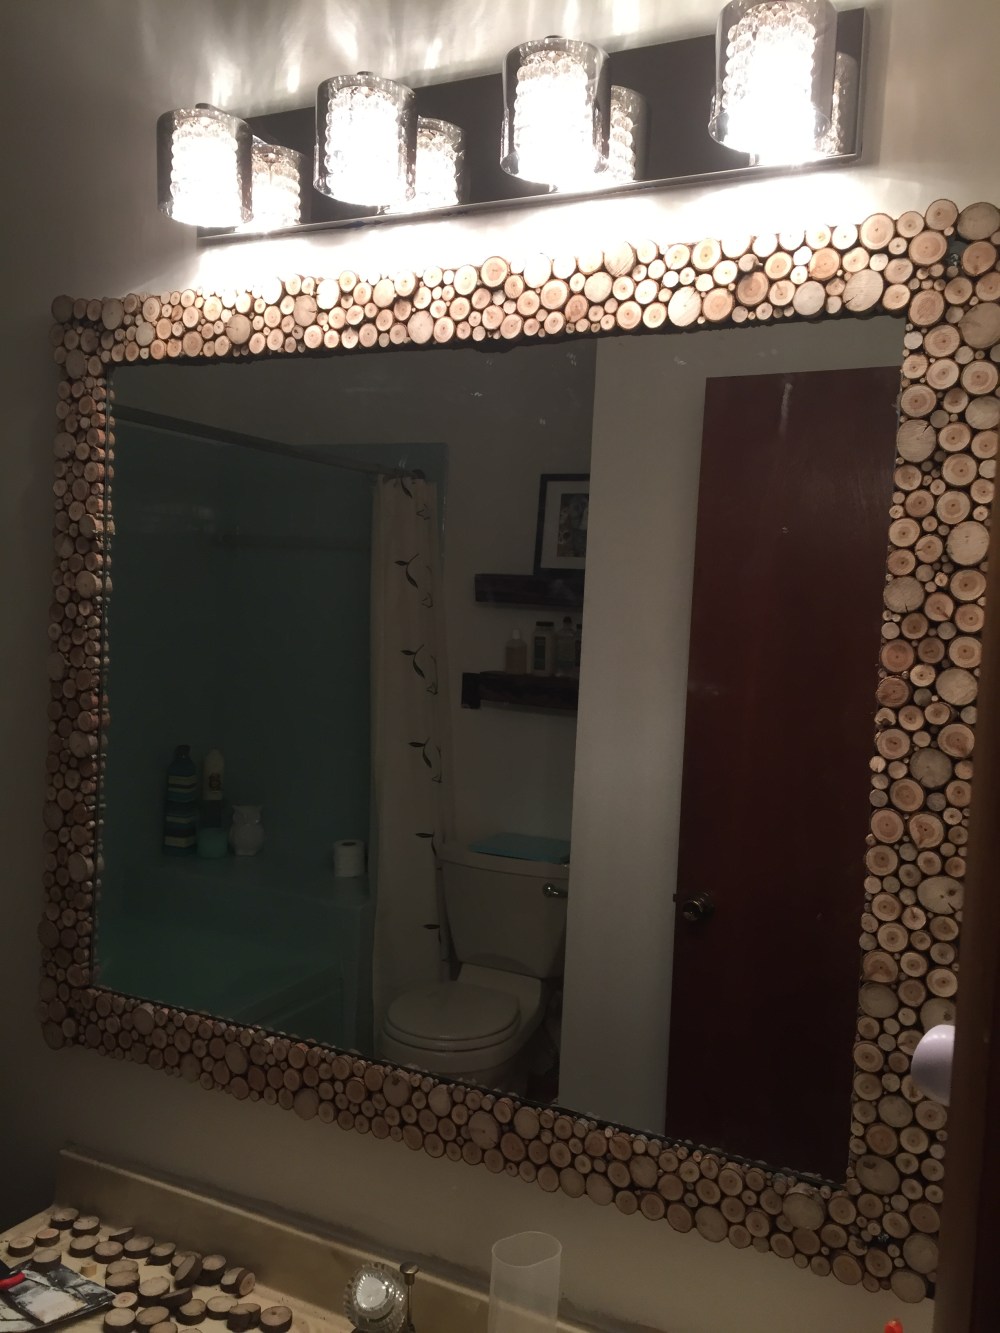
Ta-Da! We have a finished wood slice mirror. Pinterest WIN! It took a lot of time but I think it was well worth it. I mean, c’mon — how awesome does that mirror look! (except the mirror itself isn’t clean yet).
Also, notice those two shelves above the toilet…I made those too. Saw them for around $80 each in a catalog and was no where near willing to pay that much for them. So I just made some myself with left over posts we had. I’ll post about those with better photos soon.
Last little bit needed for the HTTM before we can officially stamp the bathroom ‘finished’ is some paint touch up (notice that ugly line right above the sink), a good cleaning of the mirror, some fun artwork (I’m leaning towards some string art that I’m going to make — shocker, i’m going to make it…) and finally a good overall cleaning of the room.
Then the hunt for a ladder that I can incorporate into the room between the sink and the actual hot tub begins. Want something fun to hang the towels from 🙂
