Our second bathroom is affectionately known as the Hot Tub Time Machine, or HTTM. Partly because that movie is awesome, but mostly because said bathroom has a jet tub straight out of the 80’s. My first instinct was to yank the tub when we first bought the house, but during the inspection my eyes were opened to just how awesome the tub truly was. It worked, and it worked great.
To go along with the spectacular robin-egg blue tub and tile, there was gold wallpaper with a leafy-flowery looking pattern. The leaf-flowers were in bunches of three with a white, robin-egg blue, and a darker teal color (I think). I’m kicking myself for not taking “before” photos of the bathroom with the wallpaper — and the real estate listing didn’t have photos of the bathroom either. grrr.
A few Fridays ago I made the decision the day the HTTM facelift was gonna get started was that day. Right then at that very moment. The removing of the wallpaper began…and rather quickly it was apparent that the paper itself was going to come up no trouble — but the adhesive had something else in mind.

It didn’t help that access to the paper (and the asshole adhesive) on the tiny wall above the tub part was only made possible via the ladder that had to be put into the tub. There was a terrible sounding creaking of the fiberglass every time I stood on the ladder. Part of my brain told me the creaking was normal, but another part told me I was going to go crashing thru the tub at any moment.

After a couple days fighting with the asshole adhesive, it was time to take the toilet out of the room so I could get the last portion of the room that needed attention. It’s incredibly simple to remove a toilet. Gross, but totally simple. Full disclosure: I did NOT remove any of the toilets, the BH did that nasty job.

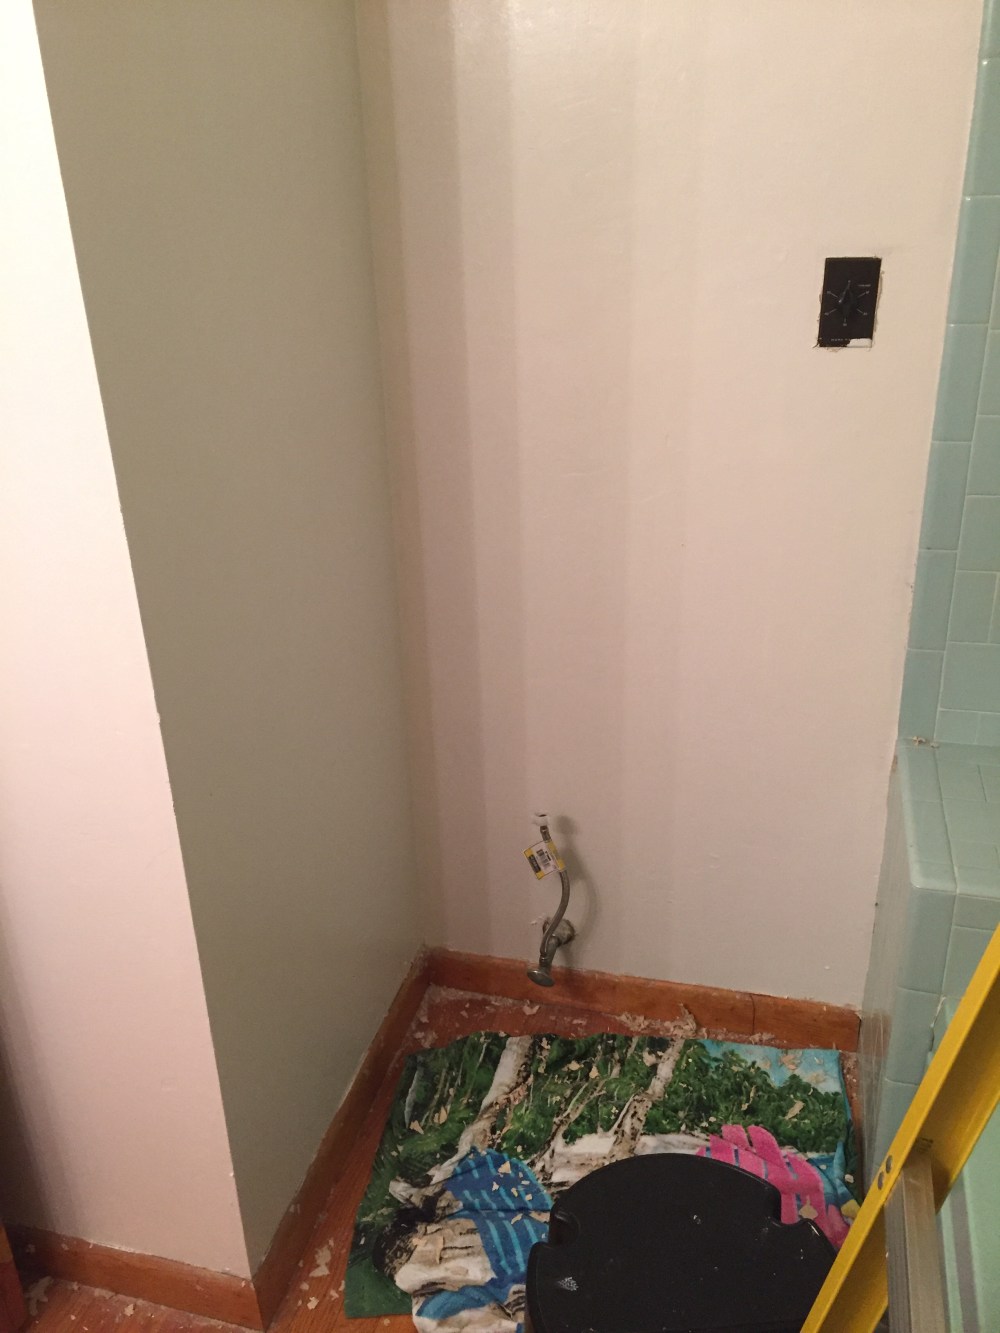
See that little bit of paper? That was the last remnant of the wallpaper I couldn’t get to with the toilet still in the room. Imagine that paper…all over the room. It wasn’t terrible, but it wasn’t great either. Overall it had to come up regardless of it’s greatness, the paper was already starting to peel up in many sections. Just ooozed old.
With the toilet outta the room I was able to maneuver slightly easier, and spent the better part of a day working on getting ALL the adhesive off that I could before throwing in the towel and deciding that it was time for sanding down what remaining asshole adhesive wouldn’t come up without tearing up the drywall.

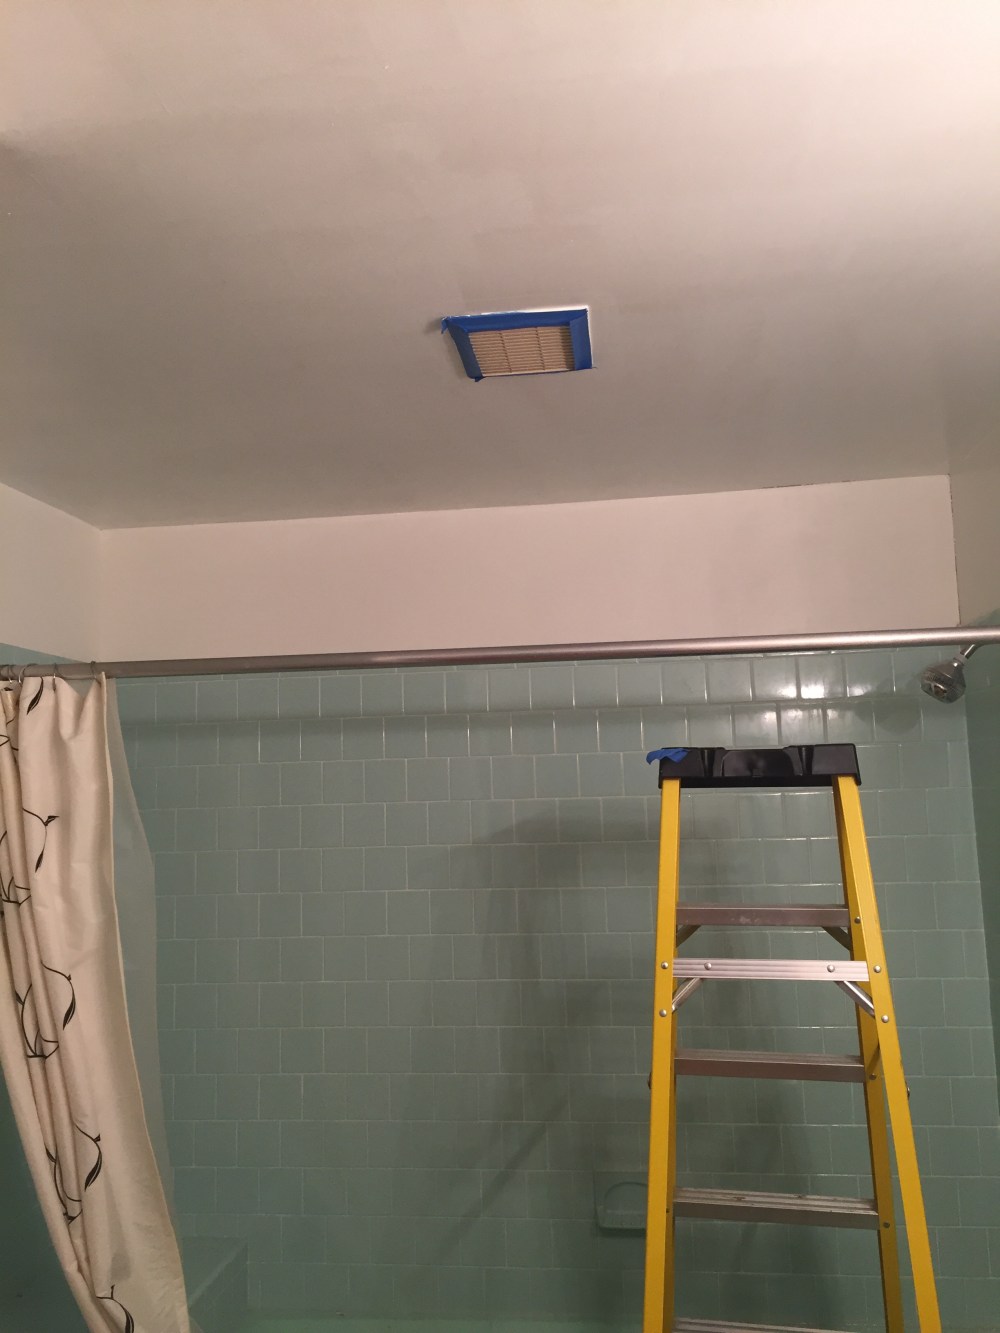
As you can see, the drywall behind the toilet got a little beat up. Can’t say for sure if that’s because I was starting to lose my patience, or I had started using the blade do-hicky that the BH got me. I officially stamped the remaining adhesive “texture” for the wall. With the adhesive battle over and the room getting a nice sand and smooth down, it was time to paint. A quick trip to the Home Depot for the paints (also nabbed ceiling paint) and I was ready.
In true Courtney fashion, just as I was finishing the wall, I tapped the plate cover for the tub jets. Let’s just call that…my signature move.
With the walls, and the ceiling all painted it was time for the toilet to return and attempts to clean the HTTM went into effect. I don’t think the tiles and the tub itself have gotten as thorough as a cleaning as they got that day. I dare say it looked better than the day we got the keys (disclosure: the previous owners had the entire house cleaned by Merry Maids the day or two before we officially got the keys. They were awesome)
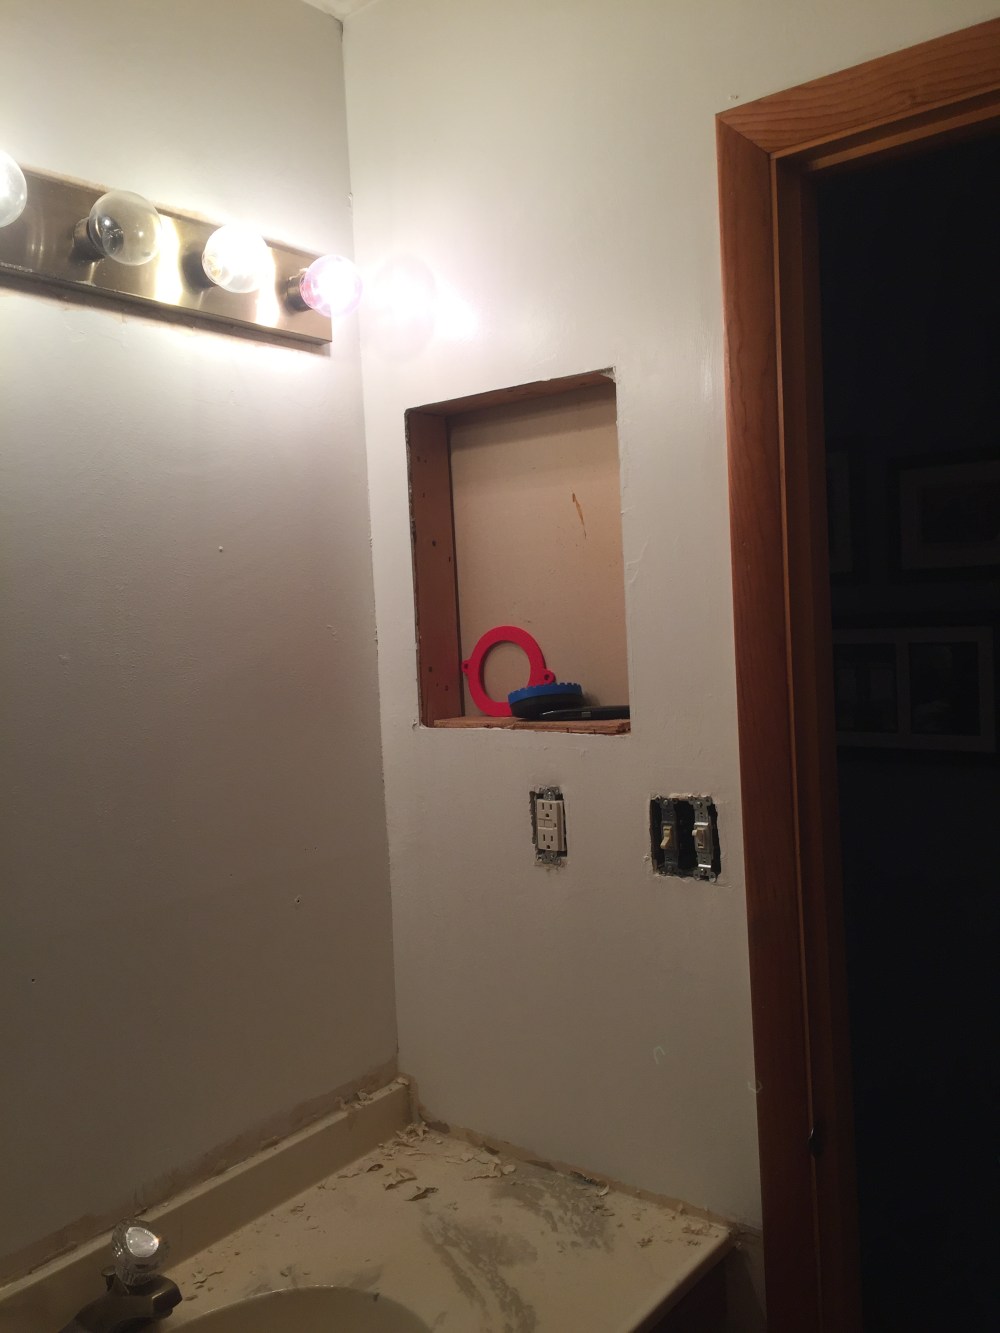
Up next was the lighting and what to do with the medicine cabinet. The medicine cabinet hole was smaller than most of the standard cabinets now — so we made the call to just close up the hole.
I also had waffled on whether or not to epoxy the cultured marble counter, but ultimately decided I would make due with the current counter. Everything I had read and heard about the epoxy project sounded intense and way too stinky. Instead I’m going to spruce up the cabinet part and just deal. (Until I can get my hands on a dresser that is perfect for my vanity idea)
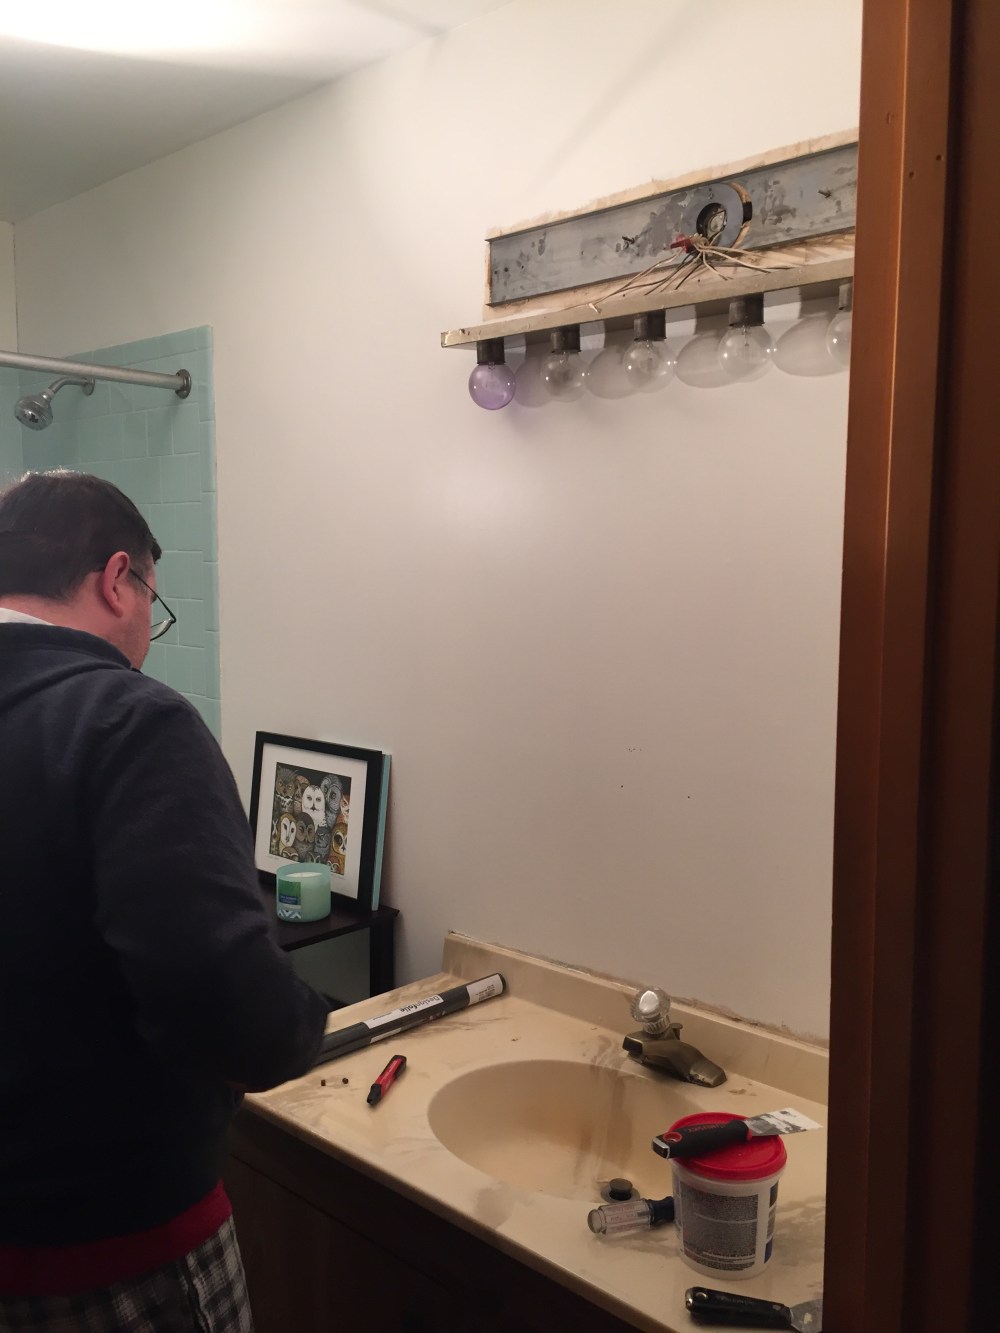
Another trip to Home Depot and voila — we had a new light fixture and my favorite light switch cover. Ended up grabbing the wrong kind of plate for the plugs, so my next trip to Home Depot (next week) will include grabbing the correct plate. With some electrical help from the BH, we got the old light out and the new one up. A little time touching up the walls around the new light and we were in business.

Now the medicine cabinet…that’s another story. Not sure what I was thinking…but I got a little crazy with the Spackle. And not surprisingly, my craziness was just that. Crazy. SO…the current piece is going to come out, I’m going to put in a few small pieces of 2 x 4 to give the frame behind the drywall piece a little more support and THEN clean up that piece.
And now I’m working on the finishing touches for the bathroom. Got something special going for the mirror and trying re-purpose some of the left over 4 x 4 post materials that the BH used last year when he was building the wood platform. Progress!
