I’m way behind the game with posting, but I’ve been a bit busy. Many of my posts about projects don’t get posted until usually after the project is finished (or damn near close to finished). Let’s jump in my time machine and head way way back to early June 2016…
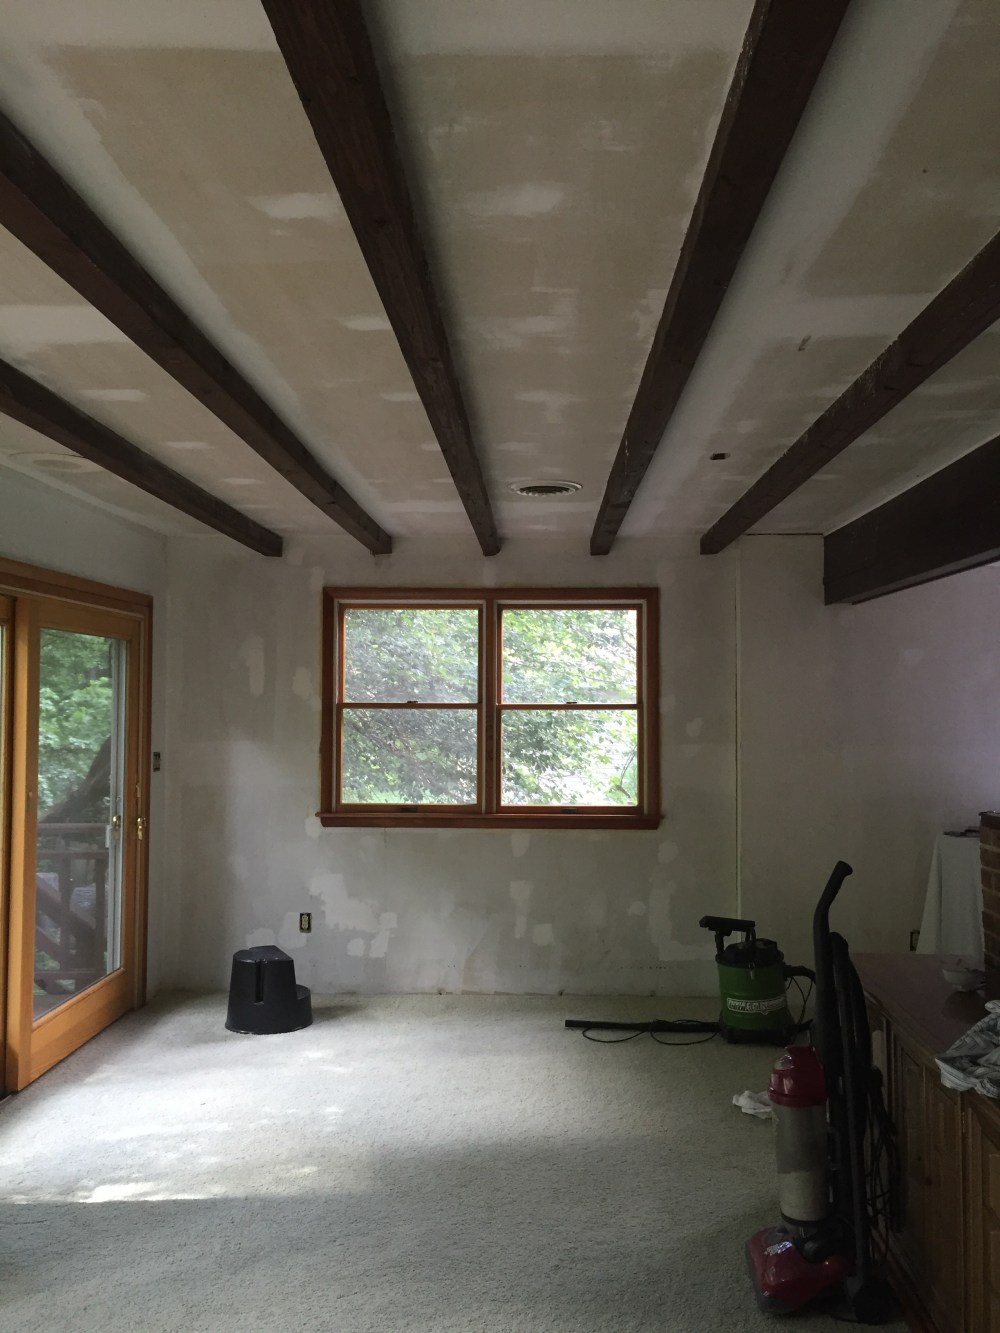
Walking into our house you are greeted with a pretty awesome view of the backyard and an stupendous wood stove in a big ol’ square of a room we’ve affectionately named “the great room”. One aspect of the great room that I detested from the start…popcorn ceiling. The terrible popcorn ceiling was on both sides of the room. One side had beams that were awesome-ish and a terribly old and slowly dying track lighting fixture. Oh and it has the spectacular sliding glass doors that allows you to bask in the glory known as our backyard (one day to be the Ewok Village).
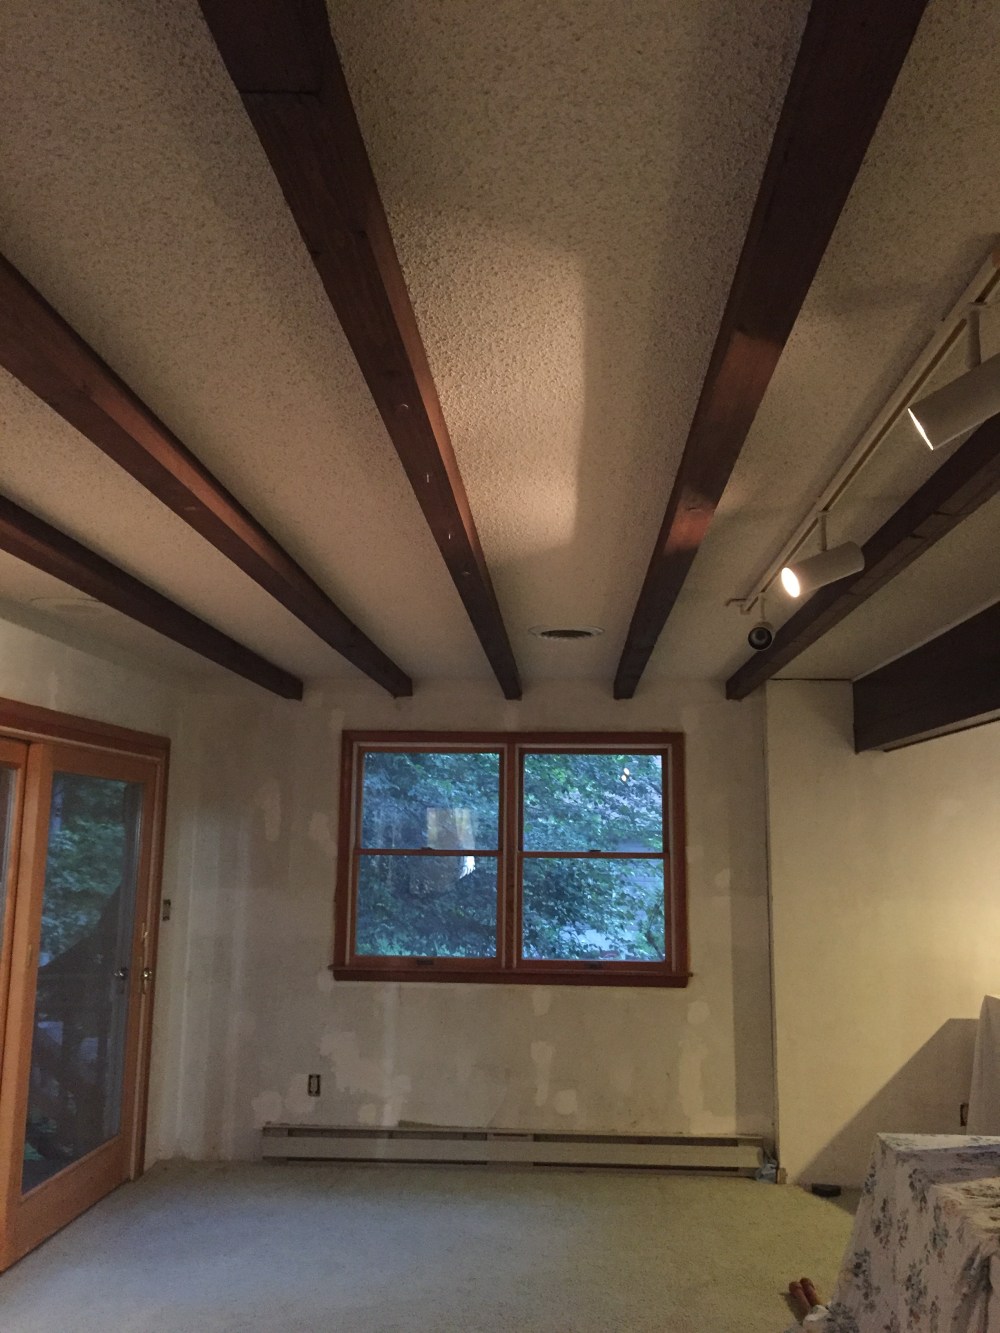
Fun fact: the beam side is where the Christmas tree lives in for the almost three months of the year it resides in the house with us. Yes…we are that couple that get up early the day after Thanksgiving to get our Christmas tree. The BH gets to use one of his many power tools to cut down our tree, I take coffee and enjoy the show and get lost wandering in the sea of Christmas trees for a few hours. It’s awesome, like us.
The other side of the room, where the reading corner and the best seat to enjoy the wood stove is, had two pot lights and the do-hickey for the wood stove. Oh, and the AC vents. Otherwise it was just a sea of gross-nasty-disgusting-grodie-icky-popcorn ceiling. There lies a deep repulsion of popcorn ceiling within my soul. If you have it in your house, I don’t judge you…about that at least…

Back to the story. In early June 2016 the time had come to attack the great room project on our to-do list. It was now or never. It is the biggest in size from all the other rooms we’ve tackled, and the room that required the most areas of help. i.e. practically the entire room.
The popcorn ceiling wasn’t the first thing that needed to happen in that room. It could have been, but in all honesty — I wasn’t looking forward to actually doing the removing. I managed to reason with myself that since I had to take down all the curtains and the furniture had to be moved away from the walls anyway, I really should pull the wallpaper off first.

And like with most all the other wallpaper (exception — the bastard wallpaper in the HTTM), it came down without a hiccup. Goodbye green wallpaper.
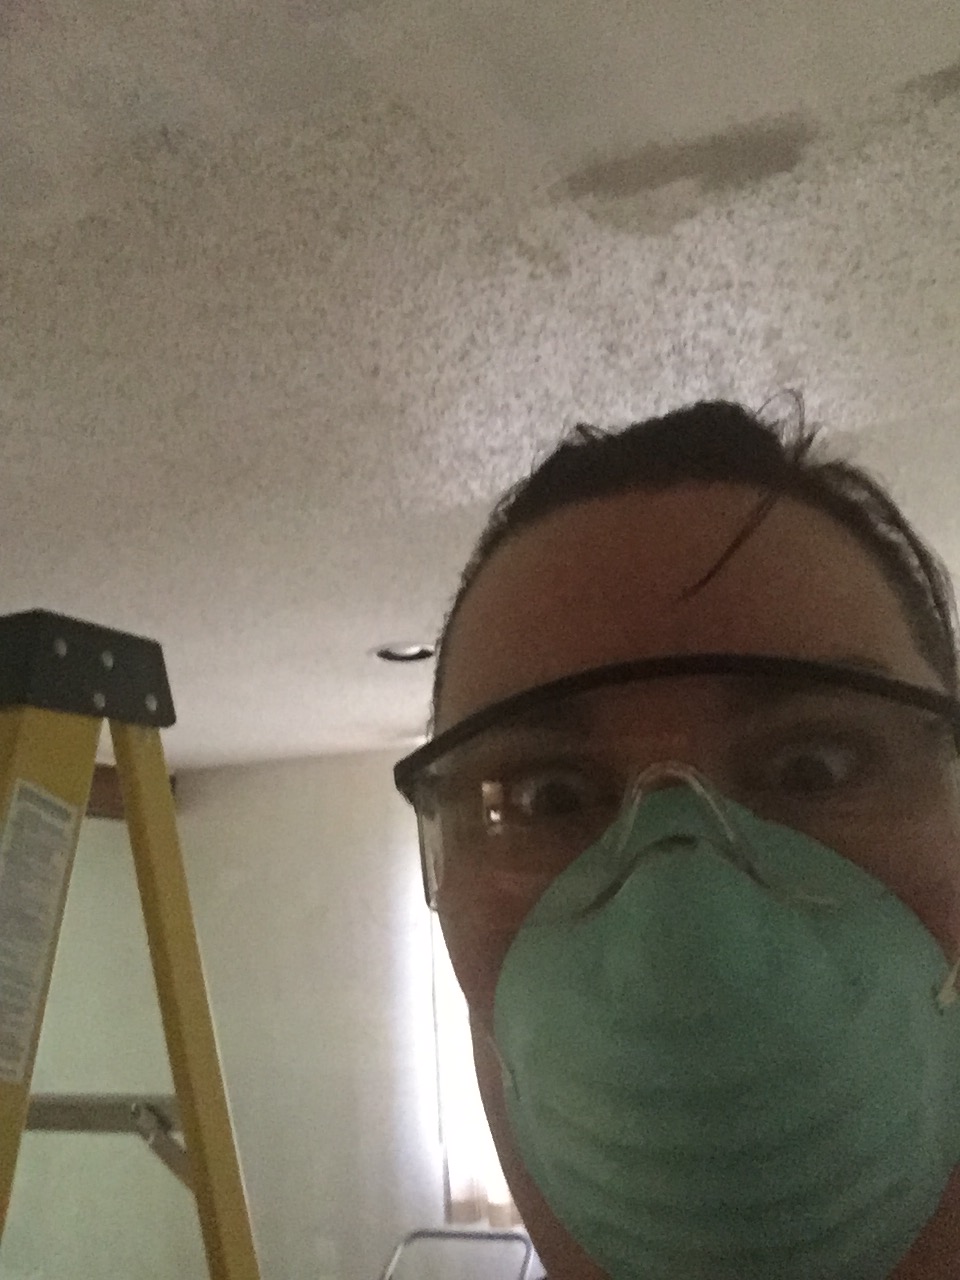
With the paper all off, and only teeny tiny amounts of mold behind the wallpaper (that’s something I’ll save for another post) it was time to face off with my enemy. With excited anxiety, and more YouTube video viewing than I care to admit…I put on my goggles, donned my trusty face mask and went to work. Safety first kids…always protection…
Removing popcorn ceiling is incredibly easy. A nutless monkey could do the job. (bonus points if you know that movie). I tackled the project with a six foot ladder, a 1 gallon sprayer filled with water, a scraper (I started off using just this one but switched later to a different set up), and a shit ton of plastic bags.
Spray four foot section with the water sprayer. Let the water sit for about three minutes. Don’t let dry…scraping dry popcorn is no-good. Up on ladder (you could use a pole) and push scraper along ceiling and popcorn, now more like cottage cheese consistency-wise, just fell away. Get down from the ladder, and repeat. Over and over and over again.

Of course…it was hot and humid out that day, so i was extra hot, extra sweaty, and super fucking pleasant to be around. It didn’t help that the original mask I used wasn’t strong enough, so I had to upgrade to one that was thicker and more substantial. As a result it made me feel even hotter. It was fucking awesome. (sarcasm)
But after about two hours, maybe three, one side was all scraped. And I only sorta gouged the ceiling once! Can’t see it in the photos, but I did repair the slight gouge with spackle. One thing noticeably absent in the photos is the removed popcorn…where did that go you ask? In the plastic bag that the fancy scraper I mentioned earlier uses plastic bags to catch the stuff. BUT the bag got real heavy real fast for my weak-ass arms. So I switched up my action to use one of our basic flat edge scraper and let the stuff land on a drop cloth that I would drag to each section I was scraping. Probably more bending over, but made it move so much faster. Plus my shoulder was quickly wearing out.
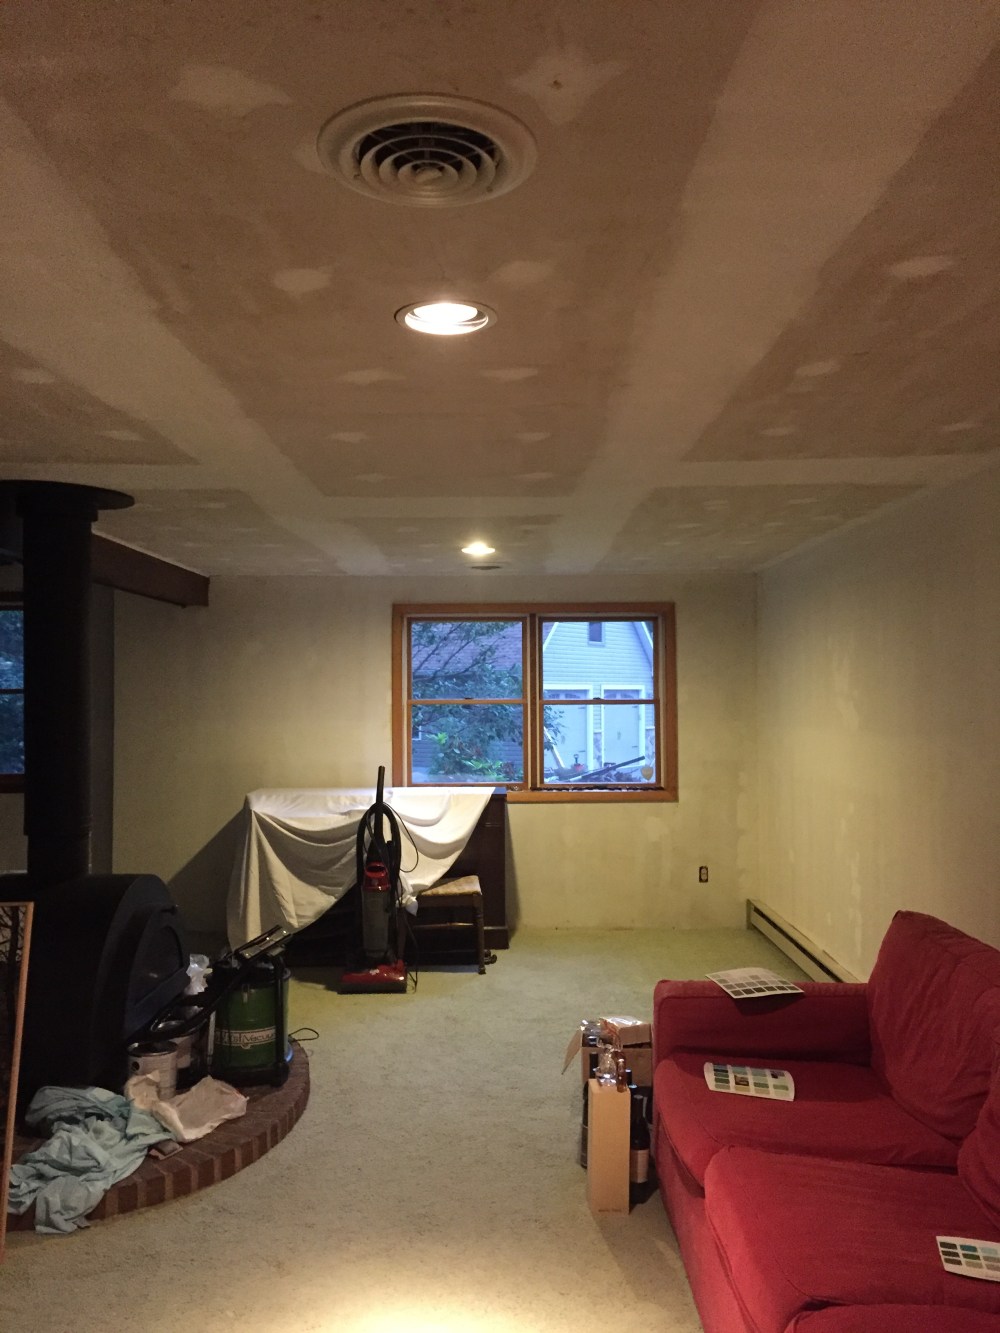
We had to put the couch back so Dr. Spaceman (the cat) could still nap in his normal spot while I worked on the other side. Yes…he’s that spoiled. You’ll also notice on the couch, paint chips. The paint guys at Home Depot know me at this point.
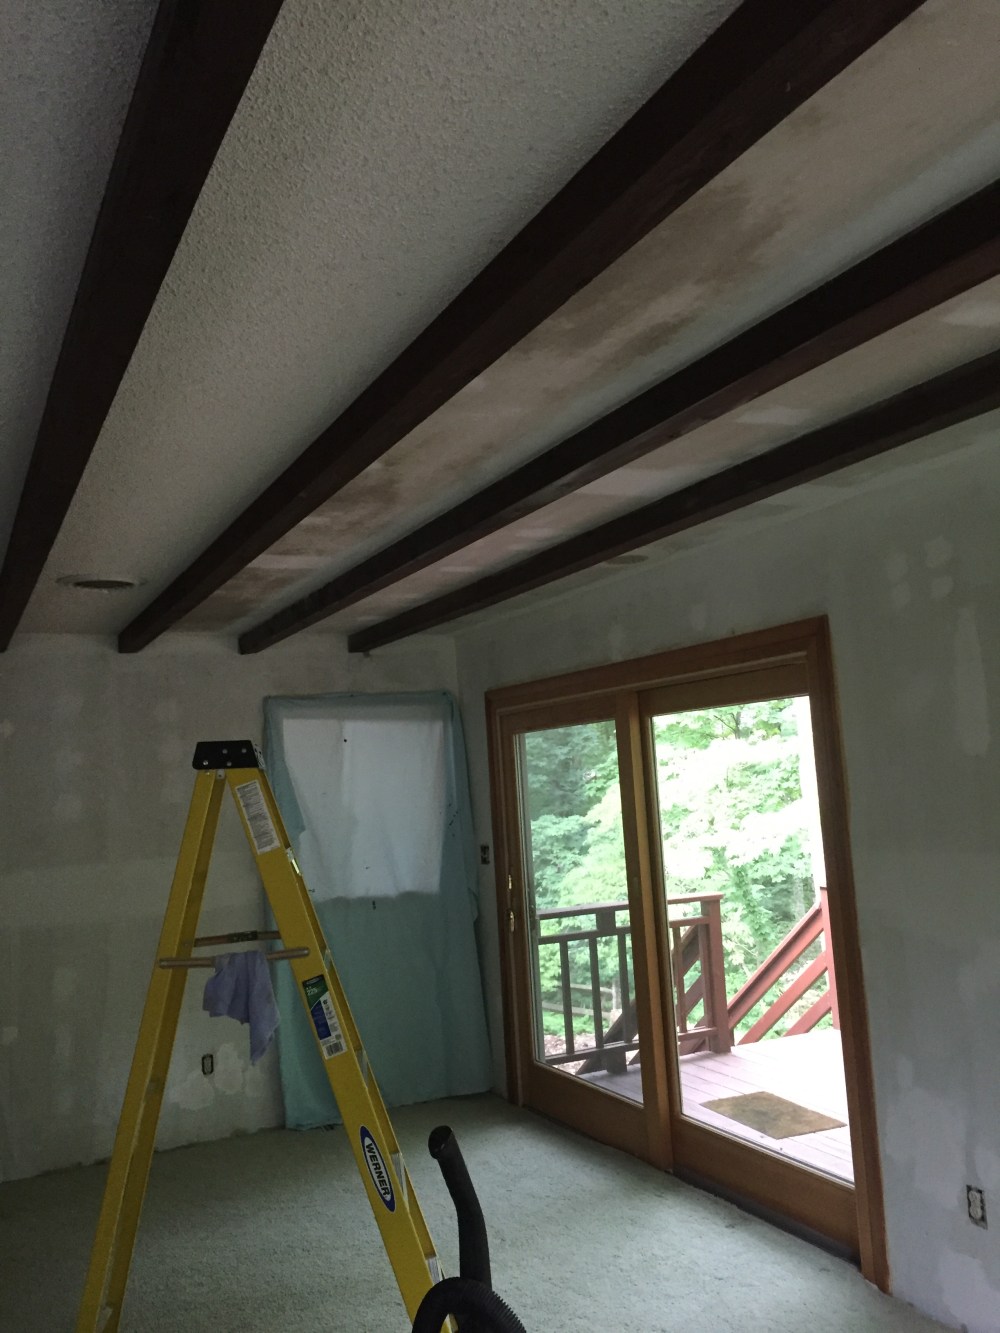
Our original plan was to take down the beams and either put new ones up or leave it smooth like the other side of the room. But upon closer inspection…the beams are pretty solidly attached to the ceiling and I was in no mood to even remotely damage the ceiling. Plan B was called for…after all the scraping was done.
Almost forgot! Before I started scraping the beam side, our electrician came out to the house to disconnect the three baseboard heaters in that room. While there, he also thankfully disconnected the depressing track lighting fixture. One step closer.
With the electrical work done, off to work I went on the side with the beams. And I’m not gonna lie…it was a bitch of a job. The previous side went so smooth and easy I got pretty spoiled with how quick I was able to make awesome progress. But the side with the beams took more time and required more up and down on the ladders. Plus having to try to scrap underneath those beams that weren’t flush to the ceiling (my OCD head exploded a little, but I did like Elsa and let it go) added more time to the whole thing.
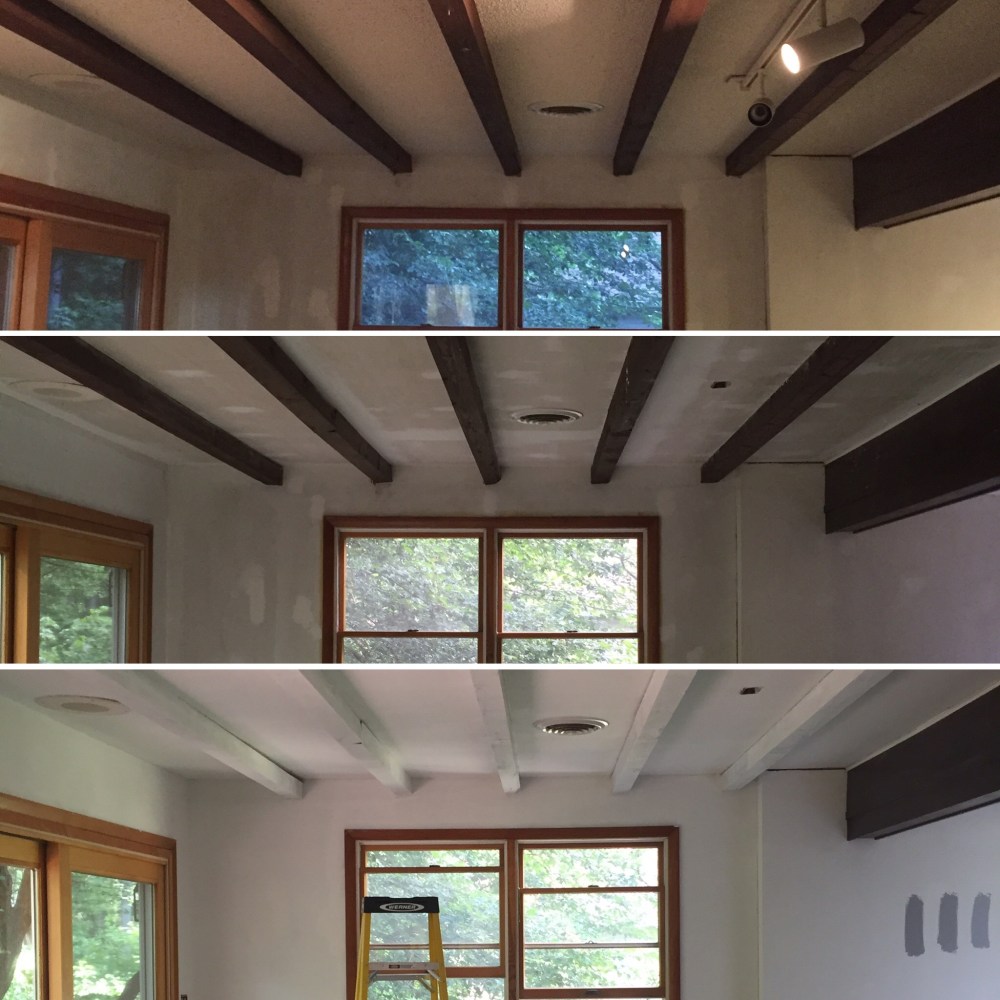
After a total of about 12 hours, any and all traces of popcorn ceiling had been banished from this house. Banished forever. It was then the time to figure out what our Plan B was. Because our neighbor is awesome…she floated the idea that the we paint the beams the same color as the ceiling. Great idea…and I quickly put her idea into action.
But first — a coat of Kilz Max for everything in that room. Walls, ceiling, and beams. I had already gone around and pulled up all the baseboard that was in the room when taking a tiny break from my scraping. That is yet…another post.

After letting the first coat dry, a second and final coat of Kilz was used…just to be safe. The mold spots, which were cleaned the moment I found them, made me queasy so I gave it another coat just to be safe. Plus we had over bought on the stuff and I didn’t want it to go to waste.
The weather gods played nice during the Kilz time, thank the heavens I was able to have the windows open the entire time I was painting. The wind wasn’t kicking up all that much either so I didn’t see too much of the outside coming in thru the screens. Apologies to my neighbors for the loud music…I needed motivation to keep going…

After a total of about 35 working hours, I now loved looking at the ceiling. The room was finally a blank canvas and ready for me to get my Martha Stewart on. First on the agenda was paint color. Because some decisions for me is never simple, I brought home seven different paint samples in similar shades of grey…and then promptly stared at them for hours trying to decide which shade tickled my fancy.
But decisions were made…so stay tuned…more to follow…eventually…
